Los Angeles
Change Location (50+)
(50+) 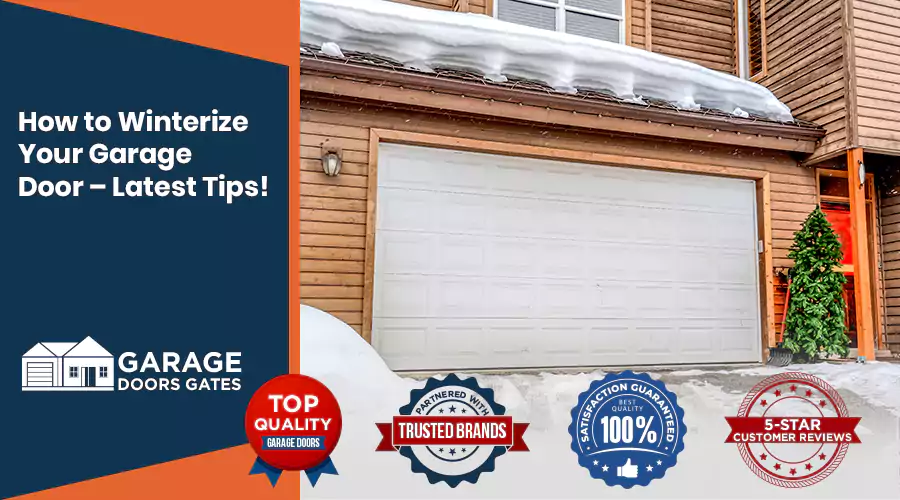
Your garage door faces severe winter challenges that cause tracks to freeze as well as stiffen hinges and result in higher utility expenses. Garage door winterization provides both easy operation and better insulation together with extended product life span. This 2025 winter garage door guide presents the full set of recommended tips to preserve your garage door’s performance throughout freezing winter temperatures.
Your garage door is one of the largest entry points in your home, and without proper insulation, it can lead to:
A well-insulated garage door offers:
Garage door winterization requires minimal levels of effort to achieve results. Straightforward procedures will protect your garage door from damage during the winter season.
A properly maintained garage door serves as essential equipment for operating during winter season. Moving parts within the garage door usually become stiff when exposed to cold temperatures which results in operation difficulties.
What You Need:
Steps:
Regular lubrication not only ensures smooth operation but also prevents wear caused by friction.
Pro Tip: Use silicone-based lubricant (not grease) on moving parts to prevent freezing.
Avoid WD-40 – it’s a degreaser, not a long-term lubricant.
A garage door winter seal prevents drafts, snow, and pests from entering your garage. Over time, weatherstripping can wear down or become brittle, especially in harsh winter conditions.
What You Need:
Steps:
This simple update can make a significant difference in the insulation of your garage and help reduce energy costs. Focus on:
| Seal Location | Best Material | Benefits |
|---|---|---|
| Bottom Seal | Heavy-duty rubber or vinyl | Blocks cold air & moisture |
| Side & Top Seals | PVC or foam strips | Improves insulation |
| Threshold Seal | Rubber garage door sweep | Seal floor gaps |
Best Garage Door Seal for Cold Weather: Opt for frost-resistant rubber or silicone for enhanced durability and protection.
If your garage is attached to your home or you use it as a workspace, adding insulation can dramatically increase energy efficiency. Insulation keeps the cold from leaking through and helps control the temperature.
What You Need:
Steps:
Garage door insulation helps maintain temperature, reducing energy costs.
Pro Tip: If you have an insulated garage door, check for gaps and reinforce insulation if needed.
| Types of Insulation | Best For | R-Value |
|---|---|---|
| Foam Board | DIY insulation | R-4 to R-6 |
| Reflective (Radiant Barrier) | Cold climates | R-3 to R-4 |
| Batt Insulation | Maximum warmth | R-8 to R-12 |
Best Garage Doors for Cold Weather: Insulated steel or fiberglass doors with high R-values (R-12 or higher).
Your garage door's springs provide the tension required to raise and lower the garage door. Cold temperatures can cause these springs to weaken or break. Regular inspection and maintenance can prevent sudden failures.
What You Need:
Steps:
In winter, snow and ice can accumulate around the garage door, creating a barrier that can damage the door or prevent it from opening. Proper drainage helps prevent these issues.
What You Need:
Steps:
Proper drainage ensures that your garage door remains operable even during the harshest winter storms.
For added protection, consider installing a thermal garage door cover. Benefits include:
Cold affects opener performance. Ensure:
For extreme climates, consider a cold-weather garage door opener.
If your garage doubles as a workspace, a small heater or insulated panels can:
Snow, ice, and road salt cause corrosion. Clean your garage door and tracks with:
An unbalanced garage door can strain the opener and freeze shut. To test:
Tip: Prevent garage door freezing with anti-ice treatments.
| Product/Tool | Purpose | Benefits |
|---|---|---|
| Garage Door Cover for Winter | Adds insulation | Reduces heat loss, blocks drafts |
| Garage Door Winter Seal | Prevents drafts and moisture | Keeps the garage warm and dry |
| Insulation Kit | Insulates garage door panels | Maintains consistent temperature |
| Silicone Lubricant | Keeps parts moving smoothly | Prevents rust, reduces wear |
| Seal Type | Material | Durability | Cost Range | Best For |
|---|---|---|---|---|
| Rubber Seal | Rubber | High | $10–$30 | Extreme cold and flexibility |
| Vinyl Seal | Vinyl | Medium | $15–$40 | Moderate cold, cost-effective |
| Silicone Seal | Silicone | Very High | $25–$50 | All-weather performance and durability |
Your garage door requires basic winter maintenance which is a cost-effective way to support energy savings and protect both garage structure and user comfort. Your garage stays functional and warm during the entire season when you perform sealing tasks and apply lubrication to moving parts and install insulation materials.
Don’t wait for the first freeze—start winterizing today!
Need Help? Get a professional garage door service to examine your door for winter safety immediately.
Get Free Estimates
833-423-0981